He has been driving to school and back and has, as I recall now, complained of dim headlights. He also has to recharge the battery every few weeks. For some reason this did not register until last week. "You need a new alternator" I said. "No, I don't think so," he said. A week later he agreed and we went to work.
I found a few pictures on the web but no step by step instructions. This is a pretty easy repair, but for folks who like pictures, here you go. (oh, and the rebuilt alternator cost $113.00.)
First, putting it up on jack stands is a must because you have to get under the car to loosen the bottom bolt on the alternator. Some confusion exists on the web concerning the proper placement of the jack stands. We put them at the front of the frame rails and they see to hold well. The 944 actually has you lift the entire side of the car and while that is great for changing a tire, it is not so great for jack stands. Check out the web for ideas on placement. We took off the skid plate.

Underneath the skid plate was a clean engine (yes!). We saw no leaks and just a bit of oil under the oil filter. This past summer we changed the oil without removing the skid plate. It is possible but from now on we will probably do it. The jack stands are brand new from Advance Auto Parts ($25).
Ok, so the second step was to take off the air filter box. You have to unscrew the top of it and then, to remove the box, you have to unbolt it. Unfortunately the bolts were all stripped on the inside (poor design) so we disconnected the entire bracket on the front.

At the left side of the picture below you can barely see some circles. These are the bolts that we took out to get the front off.

The back came off pretty easily. There was a hose that is connected to the bracket but that came off easily. After we peeled that back we got a look at the alternator.

This is the final picture of the air box removed. We just bent it back and laid it on the engine. There is a cable connecting the air flow meter to the electrical system. Instead of fiddling with it, it is easier just to leave it connected. It is not in the way.

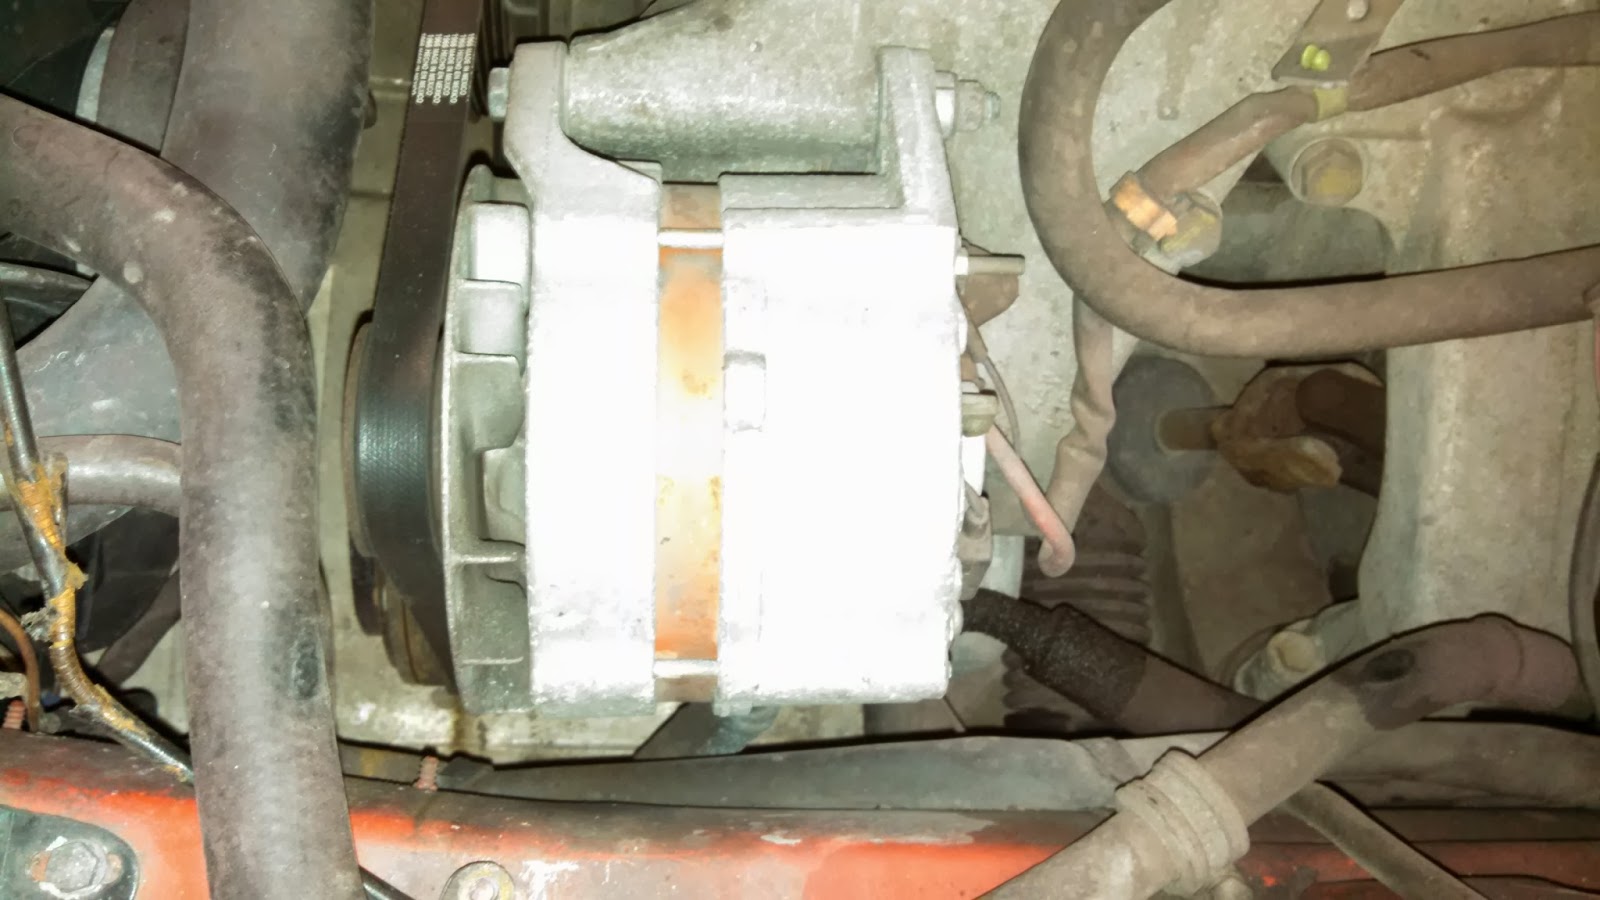
Below is the first look at the alternator. The first thing you have to do is to remove the belt. There is a horizontal belt tensioner that you need to loosen. There are 2 hex nuts on each end. Loosen the outside ones and then keep twisting the middle. The belt will loosen and you can take it off.

After this is done, the bottom bolt is accessible and the alternator comes out. One more problem (for us). The new alternator does not have a pulley on it so it must be removed from the old one. Rats! I will have to take it to a mechanic as we could not get it off.

So, the entire removal took 1.5 hours. and was a great time with my son. Tomorrow I will get the pulley removed and we will put it all back together.